Charging Port vs Battery: The 2-Minute Test That Saves You From Guess-Repairs
If your phone won’t charge, don’t play repair roulette. In two minutes you can usually…

Removing a cracked or cloudy liquid glass screen protector can feel like defusing a bomb — one wrong move and you’re staring at a naked screen, wondering why you ever touched it.
“Liquid” glass sounds fancy, but it’s about as gentle as sandpaper when it’s damaged.
Let’s take that mess off without turning your screen into a crime scene.
Before you start peeling things off your screen like a maniac, make sure it actually needs to go.
Liquid glass coatings get cloudy or hazy with age — that doesn’t always mean they’re cracked.
✅ If you see:
If your actual screen’s cracked underneath, don’t waste time polishing a disaster — just go straight for a screen replacement in Barrie.
You don’t need power tools for this. You need patience — and maybe a plastic pick.
✅ Use:
🚫 Never use:
If you find yourself five minutes in and it’s still not budging, stop. Your screen’s probably fused tighter than your last relationship. That’s when Barrie Screen Repair can safely lift it with tools that won’t scratch or warp your display.
Once the protector’s gone, you’ll probably notice a sticky film left behind — the ghost of bad adhesive past.
✅ To remove it:
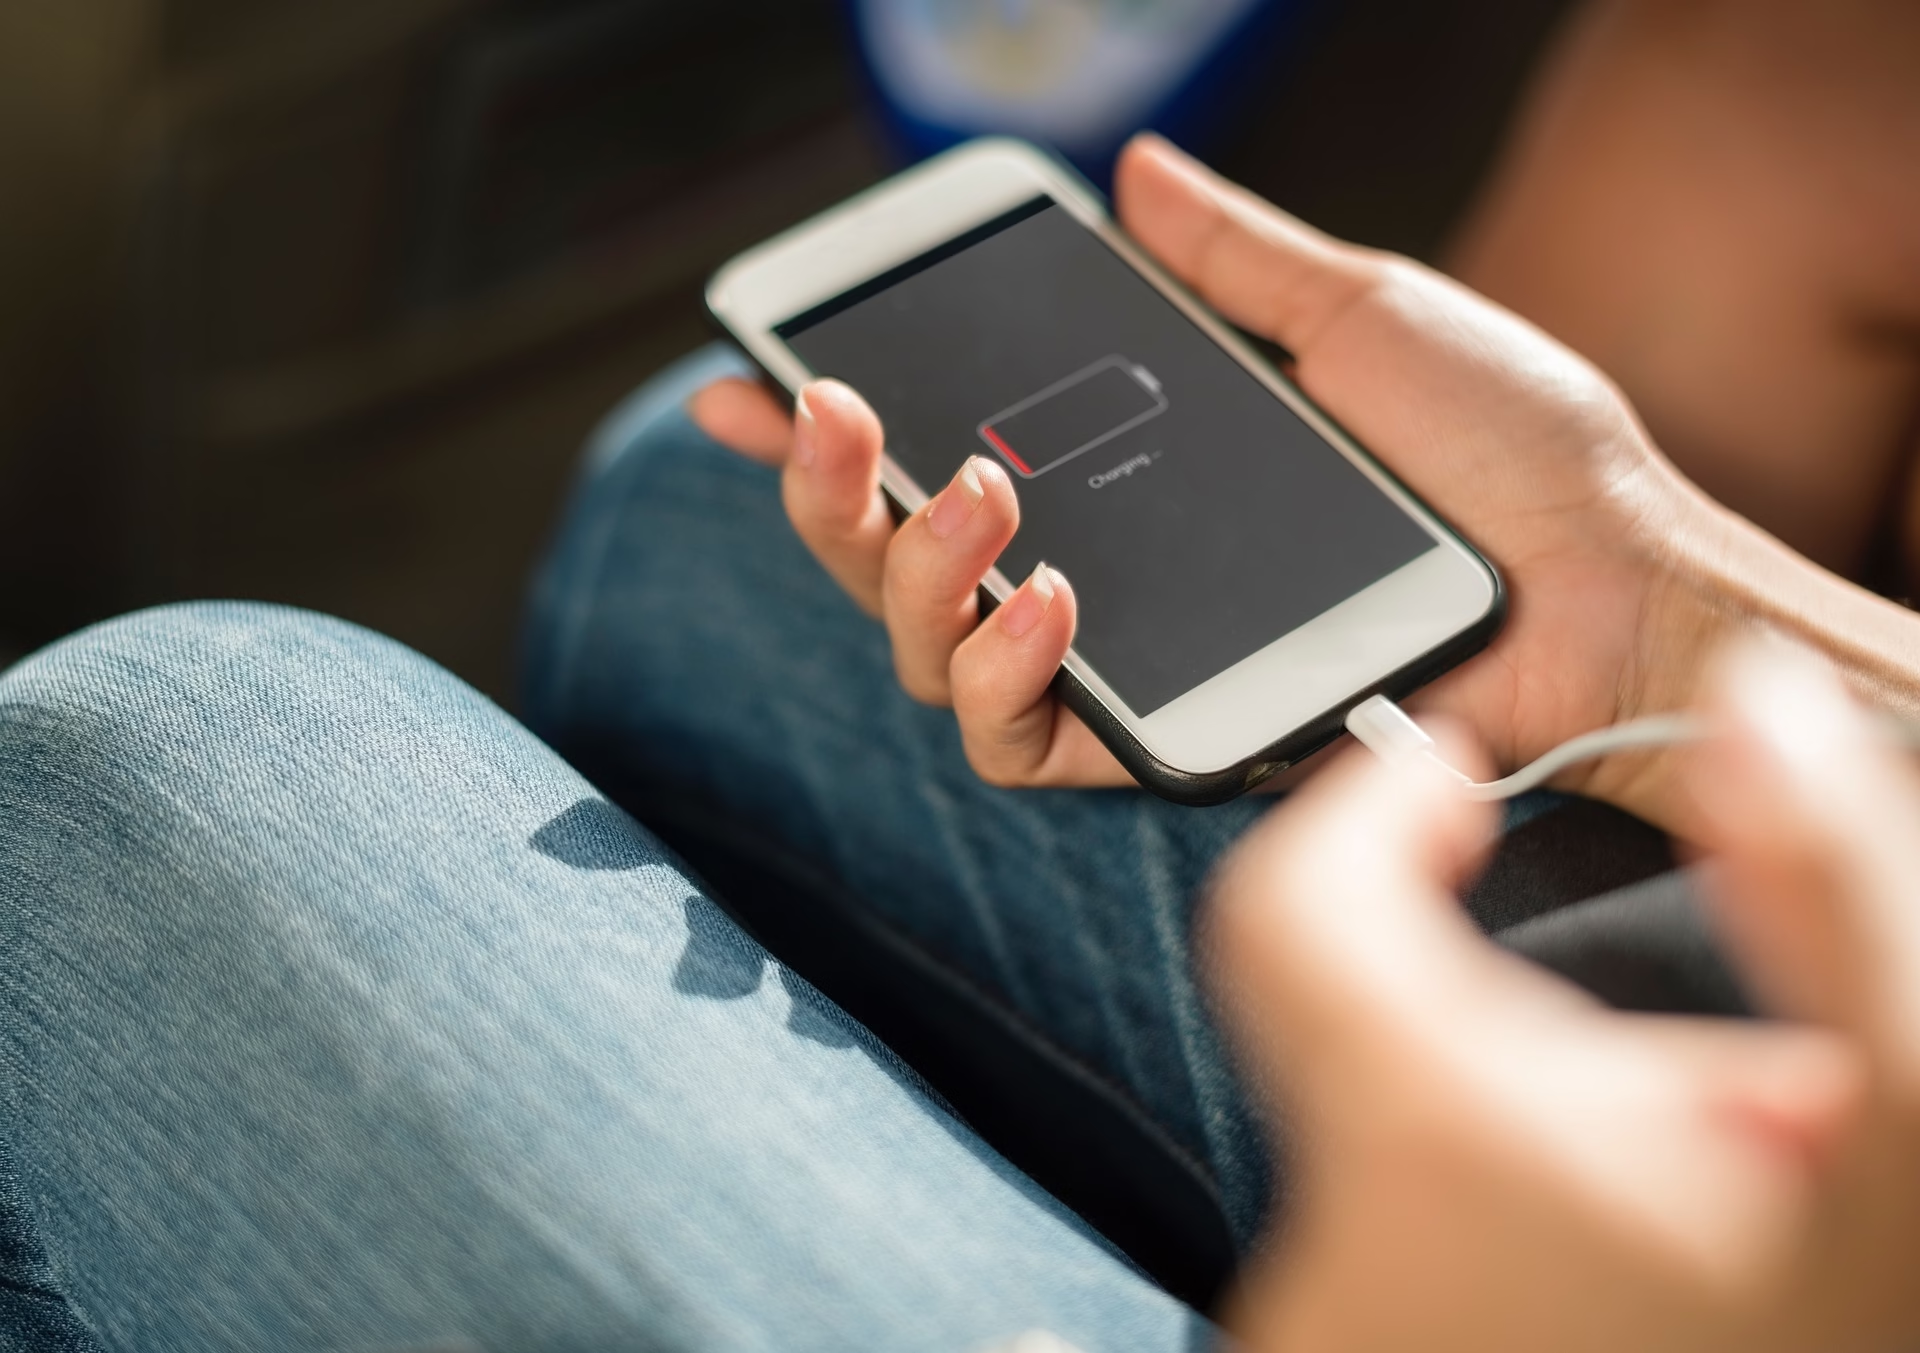
If any residue gets near your charging area, it’s worth checking our charging port repair page for a quick guide on safe cleaning.
You’ve cleaned it. It’s gleaming. Don’t ruin it now.
To avoid trapping fingerprints, dust, or your cat’s hair under your new protector:
If you’re already sweating thinking about it, just skip the stress and swing by for a pro install. We do this a hundred times a week, perfectly flat every time.
See how fast we can do it here: fastest iPad and phone fix in Barrie.
Sometimes “DIY” stands for Destroy It Yourself.
If the old protector won’t come off cleanly or your screen already looks suspicious, stop before you make it worse.
We’ll remove it, clean it, and install a new protector (the right kind) in minutes — no scratches, no panic, no YouTube tutorials required.
👉 Contact us here to get it done safely and save your sanity.